The Home & Interior Blog
How to Photograph Your Minimalist Home for Social Media
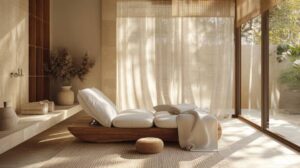
You’ve created the perfect minimalist space — airy, calm, and beautifully intentional. But when you try to capture it on camera, the photo looks… flat. Dull. Uninspired. You know the space feels amazing — but the image doesn’t reflect that.
That’s because minimalist homes require a thoughtful photography approach. With fewer visual distractions, every shadow, line, and lighting choice matters more.
This guide will show you exactly how to take minimalist interior photos that feel as striking and serene as your space itself. You’ll discover practical home photography tips, lighting strategies, and styling tricks that elevate your images — no expensive equipment required.
Understanding the Core: Why Photographing Minimalist Interiors Is Unique
The Visual Challenge of “Less”
Minimalism is about restraint. But from a photography standpoint, that’s a double-edged sword. With fewer items in frame, every object, angle, and ray of light carries more weight.
Photographing a minimalist home isn’t just about snapping clean images — it’s about capturing mood, proportion, and light in a way that expresses your aesthetic story.
Key Elements of Scroll-Stopping Minimalist Shots
- Soft, natural lighting
- Balanced composition with plenty of negative space
- Cohesive colour palette
- Thoughtful object placement (less clutter, more intention)
- Authenticity — making your space feel lived in, not staged
Social media platforms like Instagram and Pinterest reward visuals that feel both aspirational and real. Your goal is to blend both beautifully.
Pro Tip: Use white poster board or reflectors to bounce light into dark corners without adding artificial harshness.
Quick Guide: Minimalist Photography Essentials
Quick Guide: Capturing Your Home’s Aesthetic Beauty
- Use natural light — shoot near windows during golden hours
- Keep your frame clean and grounded with simple lines
- Add soft shadows for dimension, not harsh lighting
- Use the rule of thirds for balanced compositions
- Adjust exposure manually — don’t rely on auto settings
- Shoot from waist-height for realistic room perspectives
- Edit lightly — enhance, don’t transform
Important: Always clean your lens — phone smudges ruin clarity.
Step-by-Step Guide: How to Photograph Your Minimalist Home for Social Media
Step 1: Prepare the Space Without Over-Style
Tidy, but don’t sanitise. A draped throw, a half-read book, or a cup of tea adds authenticity. You want lived-in minimalism, not showroom sterility.
Clear unnecessary clutter, then scan your space. What draws the eye? What feels off-centre or too busy?
Use insights from your minimalist mood board to guide tone, balance, and emotional impact.
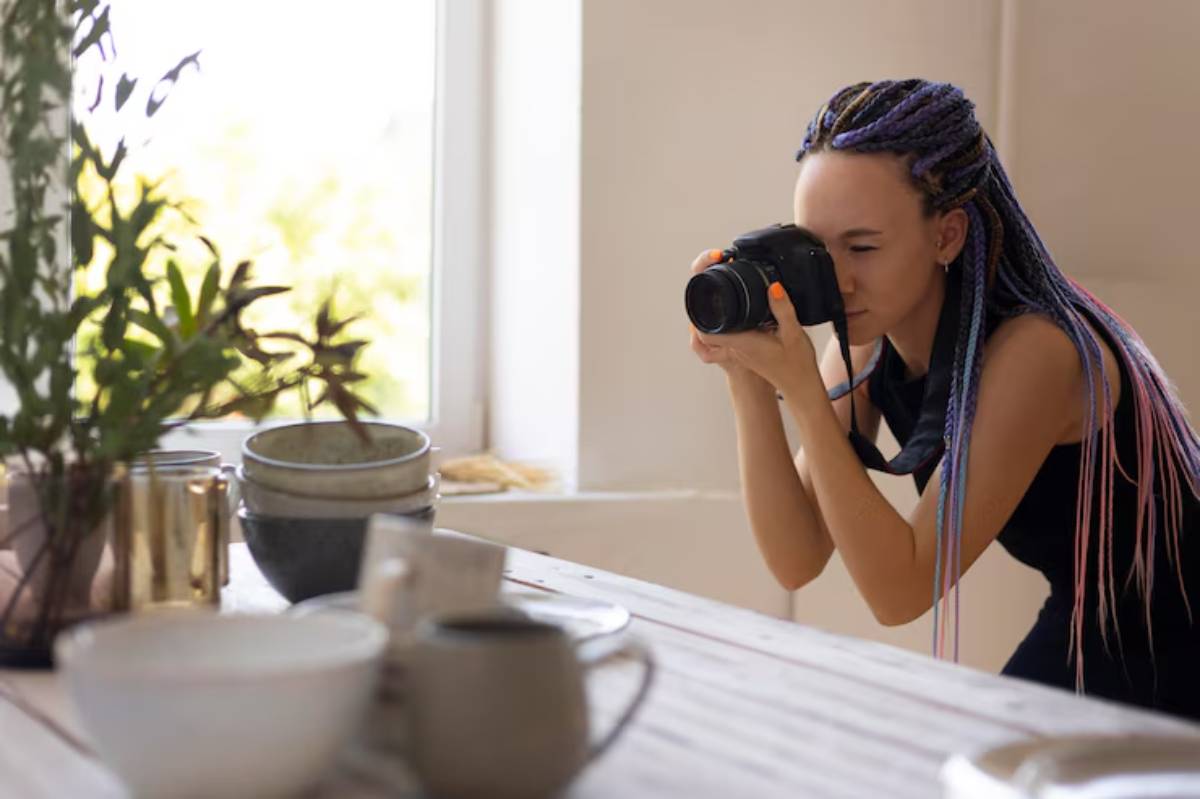
Step 2: Use Natural Light as Your Main Source
Position your shots perpendicular to large windows. Early morning and late afternoon (“golden hours”) offer soft light that flatters textures and tones.
Avoid:
- Overhead lighting
- Fluorescent bulbs
- Midday harsh sun unless diffused with a sheer curtain
Use mirrors to bounce light where needed and enhance depth.
Step 3: Set Your Composition With Purpose
Use the rule of thirds: divide your screen into a 3×3 grid and place key elements at the intersections.
Other composition tips:
- Shoot from waist height — it mimics a natural eye-level view.
- Align furniture edges with your frame for clean geometry.
- Include negative space to allow breathing room.
Flat lays? Stand directly overhead and shoot parallel to the surface.
Step 4: Balance Texture and Shadow
Minimalist spaces often rely on subtle textures — linen, jute, matte ceramics — to add interest.
To highlight this:
- Let light rake across surfaces to reveal grain
- Use shadows intentionally to create mood
- Angle the light source for soft gradients, not direct glare
Be cautious of heavy contrast — blown highlights or dark patches feel jarring in a minimalist setting.
Step 5: Focus and Exposure Settings
On smartphones:
- Tap to focus on your main subject
- Slide your finger up/down to manually adjust exposure
- Avoid overexposing — retain soft whites
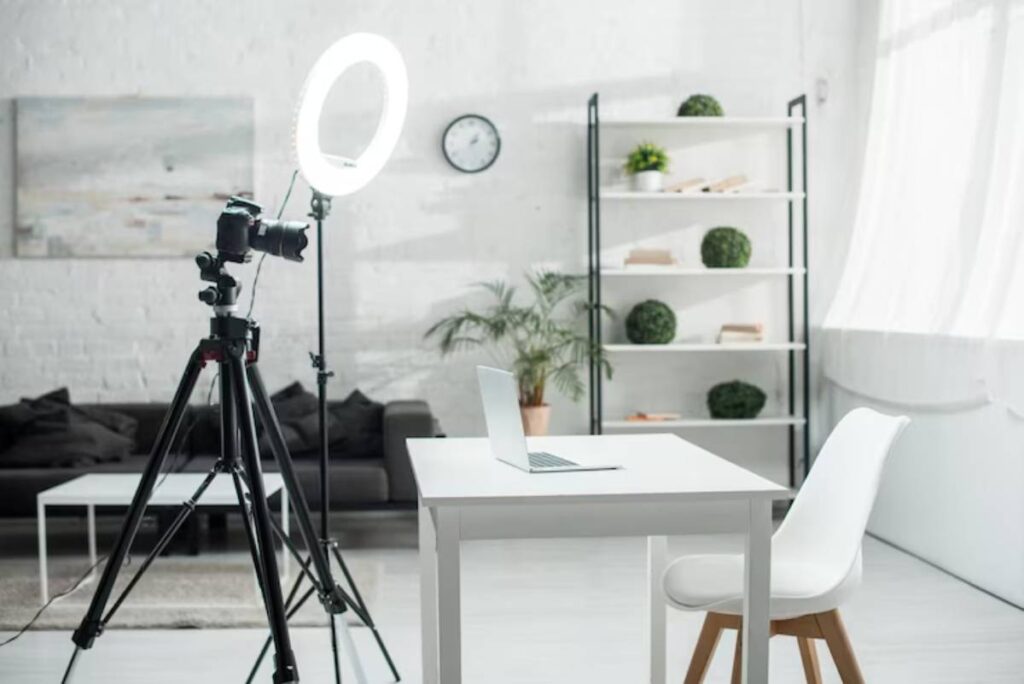
On DSLRs or mirrorless cameras:
- Use aperture priority mode (f/4–f/6.3) for wide, clear shots
- Keep ISO low (100–200) for crisp detail
- Use a tripod to eliminate motion blur, especially in low light
Step 6: Edit for Tone, Not Trend
Use editing to enhance, not overwrite.
Key adjustments:
- Brightness: slightly increase to lift the image
- Shadows: lift gently to keep the detail
- Warmth: match your room’s natural tone — avoid too cool
- Sharpening: apply sparingly for clarity
Recommended apps: Lightroom, Snapseed, VSCO
Your zero-cost decorating approach can help you achieve aesthetic consistency, ensuring that what you shoot truly reflects your lifestyle.
Best Practices & Additional Insights
- Batch shoot by time of day: Capture all shots in one lighting window to keep consistency
- Tell a story: A series of images (wide shot, close-up, detail) brings personality
- Use a consistent editing preset: It helps your feed feel cohesive
- Caption with depth: Pair your photo with a personal insight or design note
Example: “This shelf once held five vases. Now it holds one, and it feels just right.”
- Use the grid preview: Whether in-camera or in your photo app, align objects using grid lines for geometric balance
- Test angles: A slight tilt can change everything — try standing, crouching, or shooting diagonally across the room
FAQs
1. What’s the best time of day to photograph interiors?
Golden hours — early morning and late afternoon — offer the most flattering natural light for interiors.
2. Do I need a professional camera to shoot great home photos?
No. A modern smartphone with good natural light and manual control settings is more than enough for quality minimalist photos.
3. How do I make a space feel more minimalist in photos?
Remove one or two extra objects, simplify your colour palette, and make use of negative space to draw focus.
4. Should I use wide-angle lenses?
Only sparingly. While they capture more of the room, they can distort proportions and make the space feel unrealistic.
5. What social platforms work best for minimalist interior content?
Instagram and Pinterest remain the most visually driven and offer the highest engagement for interior styling content.
Let Your Home Speak Through the Lens
Minimalist homes have a quiet power, but capturing that on camera requires more than just clicking a button. With the right techniques, a thoughtful approach to light, and a commitment to authenticity, your photos can reflect the clarity and calm you’ve curated in real life.
Photography is less about perfection and more about perception. Show your home as it truly feels — intentional, calm, personal.
So pick up your camera or phone. Let the light in. Tell your space’s story. The minimalist aesthetic is already there — you just need to frame it.


YOU MAY LIKE